From time to time it is apparent that we get to send SMS to various persons for different reasons. The magic about it is being able to upload your contacts with ease, send your messages as efficiently as possible, and get the desired results at a stretch. Speaking of uploading contacts, below are different ways to uploading them:
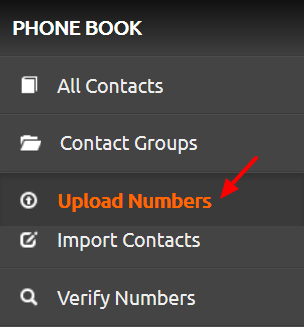
After you have successfully logged in to your account under the PHONE BOOK options, you have the; "All Contacts", "Contact Groups", "Upload Numbers", "Import Contacts", and "Verify Numbers". For this article I would be giving a detailed explanation on Upload Numbers. Below is an accessible screenshot.
- After you have clicked on Upload Contacts under the "PHONE BOOK" options you will be presented with "Name" and "Description"(optional) box. You fill out the Name which you would like to use for the group you are about to create, then what you would like to describe it with for easy identification(optional). E.g: Yabatech(group name) Business Administration(Description).

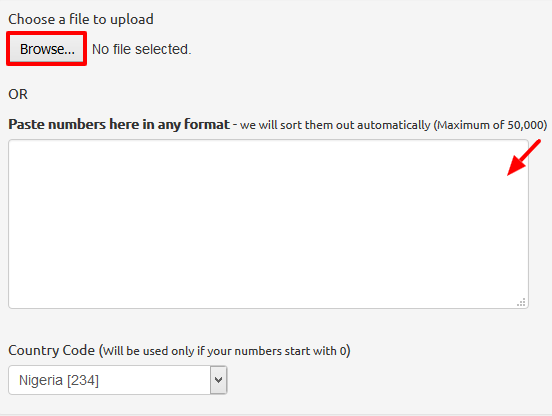
2. Then you go ahead to either click on "browse" that's if you already have the contacts stored on your system(Excel files) or phone(if using the Mobile App), type out the numbers or copy and paste it from Microsoft Word as the case may be. Remember to confirm the country code. NOTE: Upload Contacts are used to upload contacts without names(for those of us who only have numbers without names).
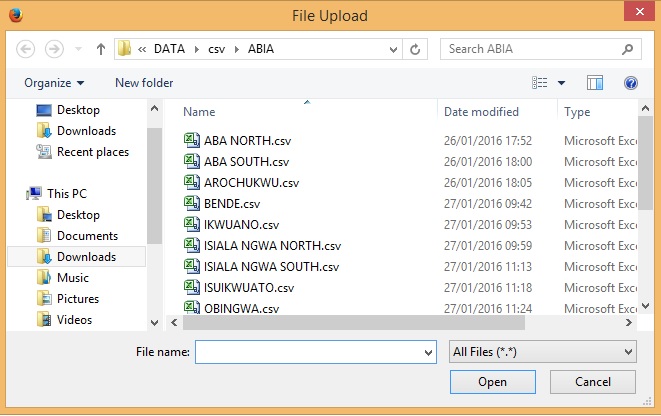
3. Should you click on "Browse", below is a screenshot of how your uploaded file would look like.
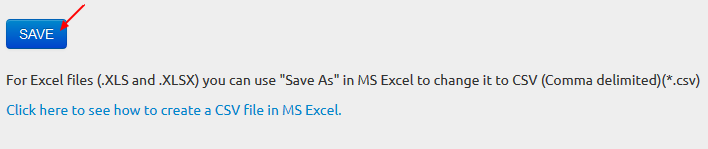
4. After you have confirmed the country code, click on "Save".
There you have it!your contacts are safely stored and you can go right ahead to upload and start sending your SMS.
